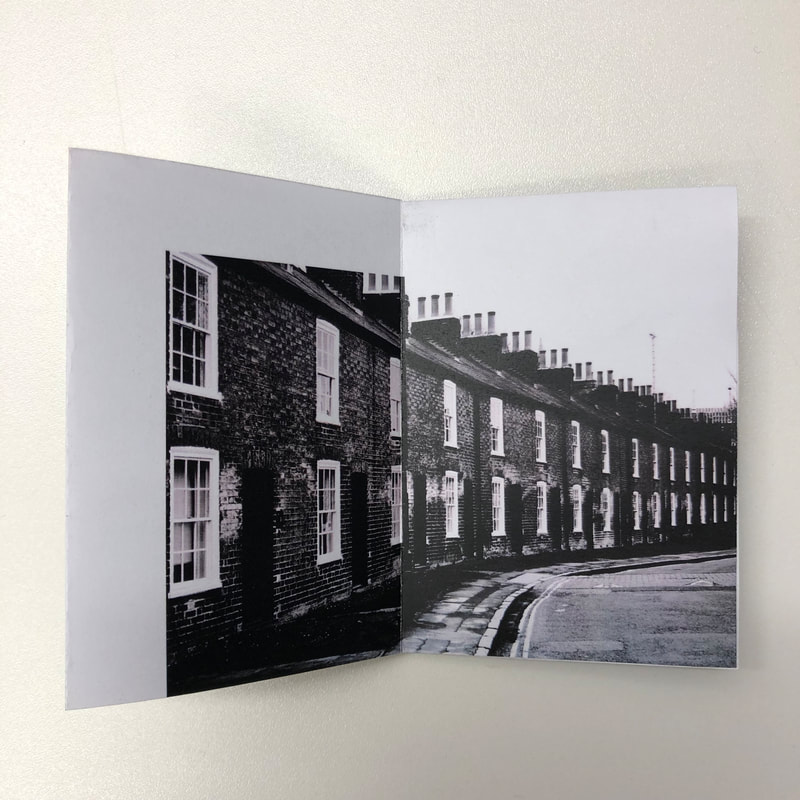
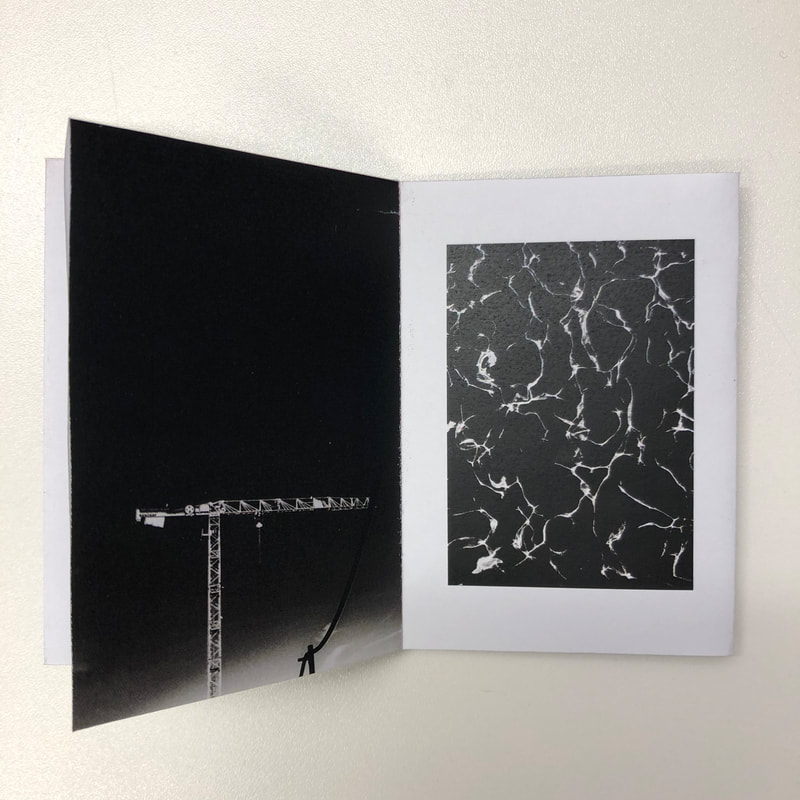
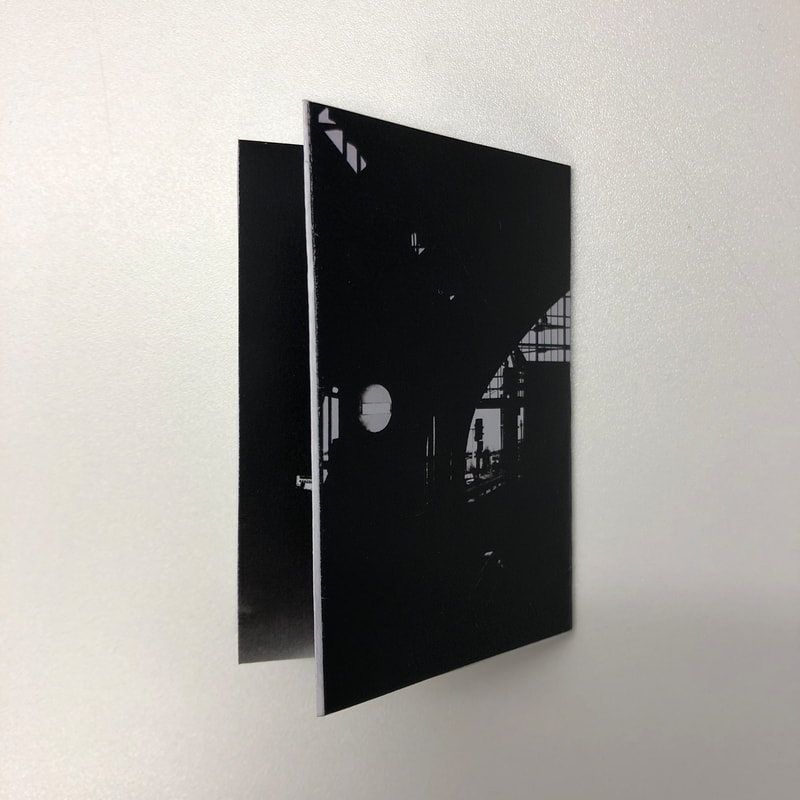
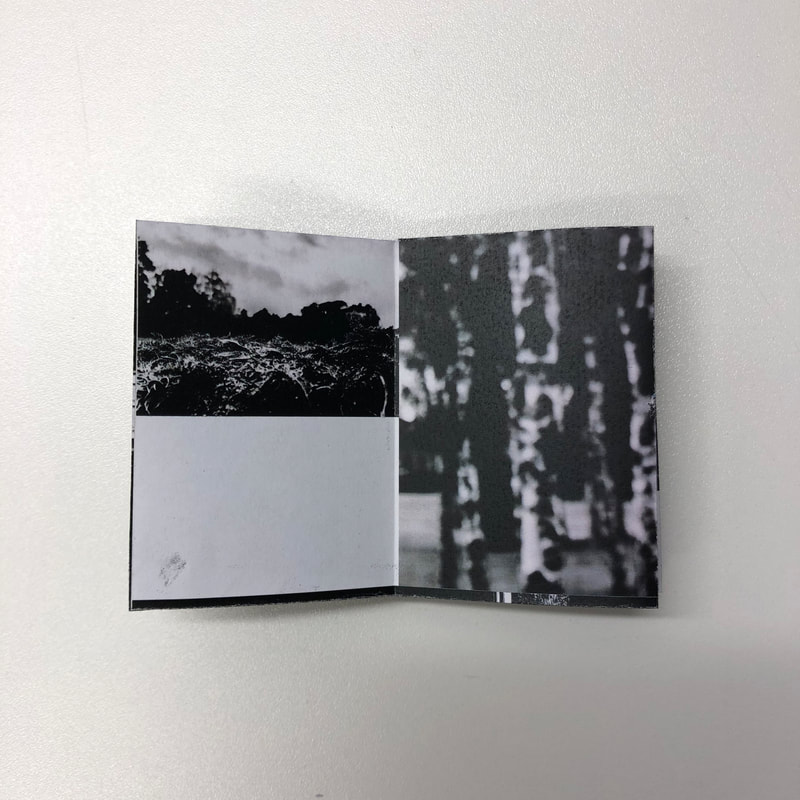
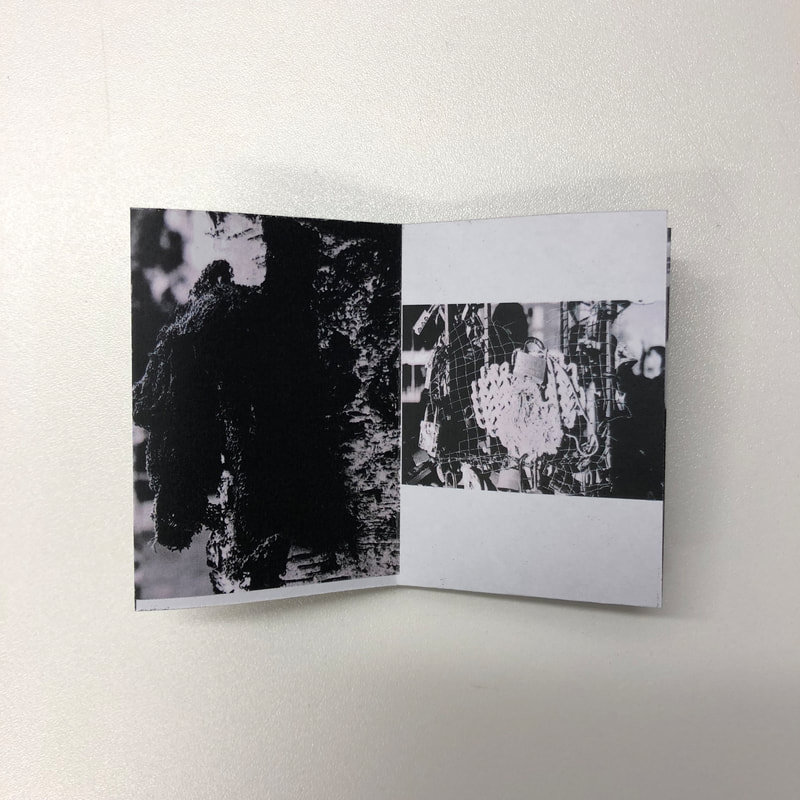
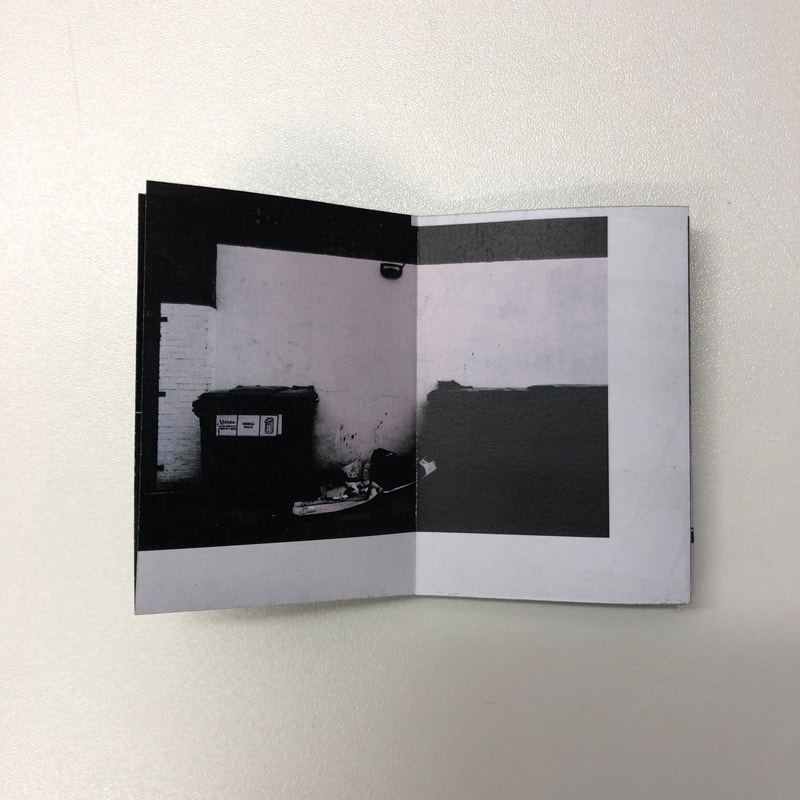
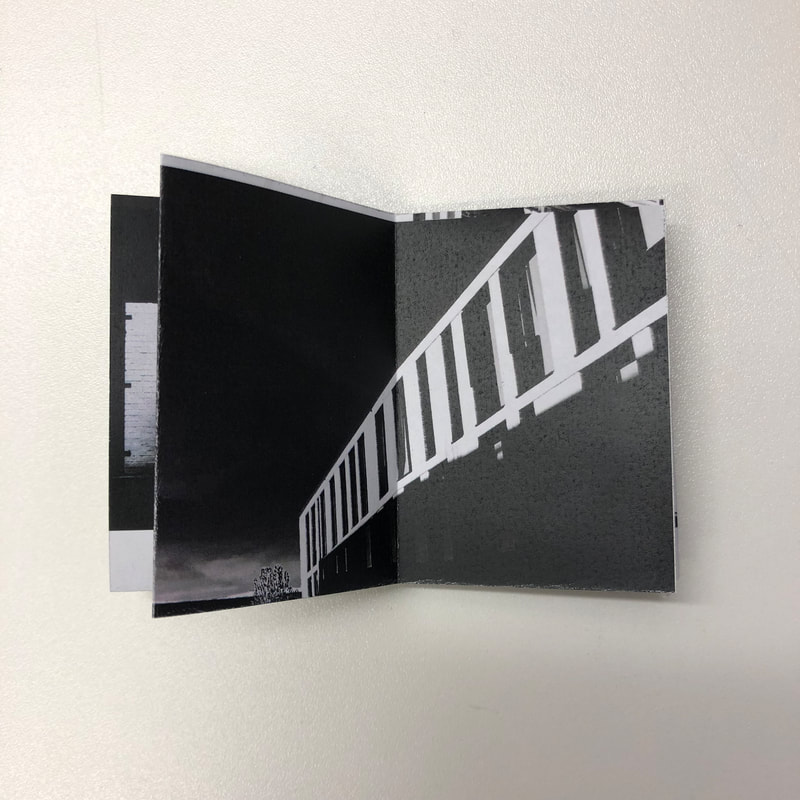
Zine making resources
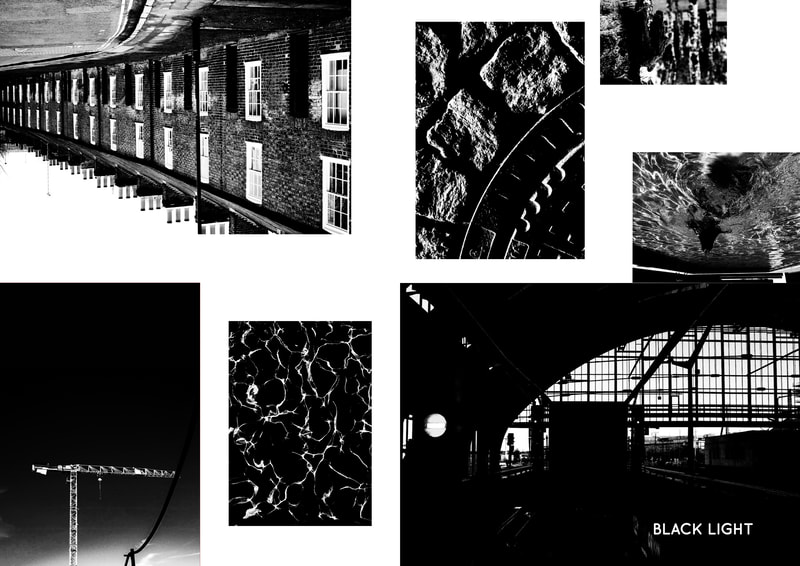
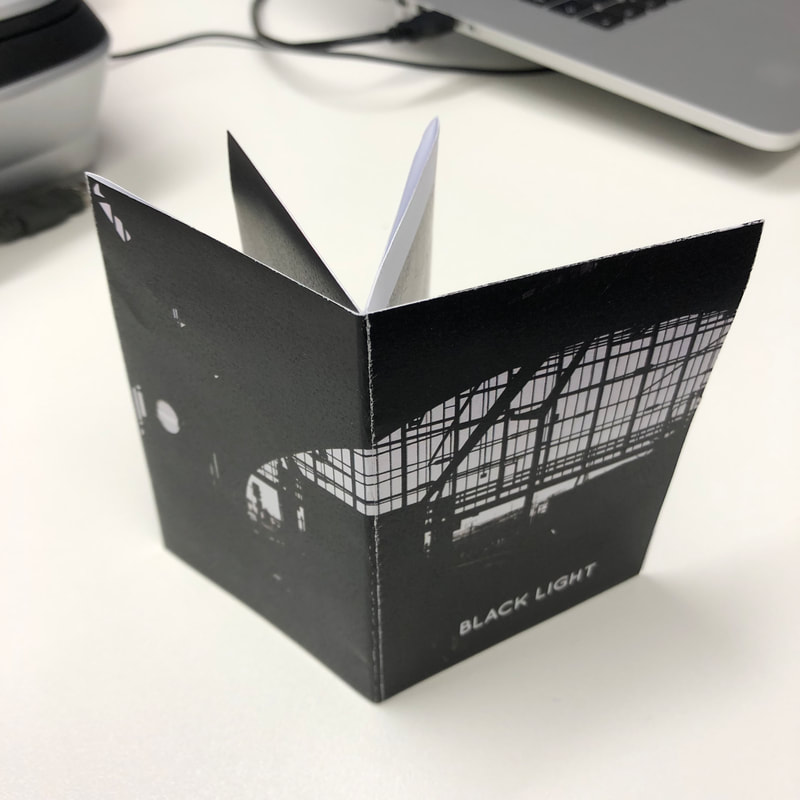
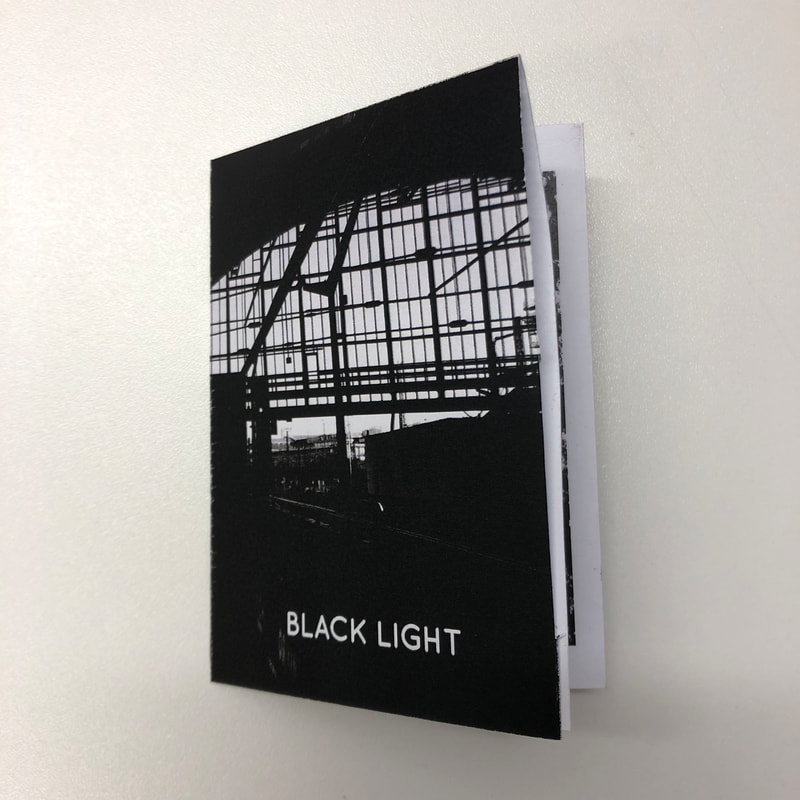
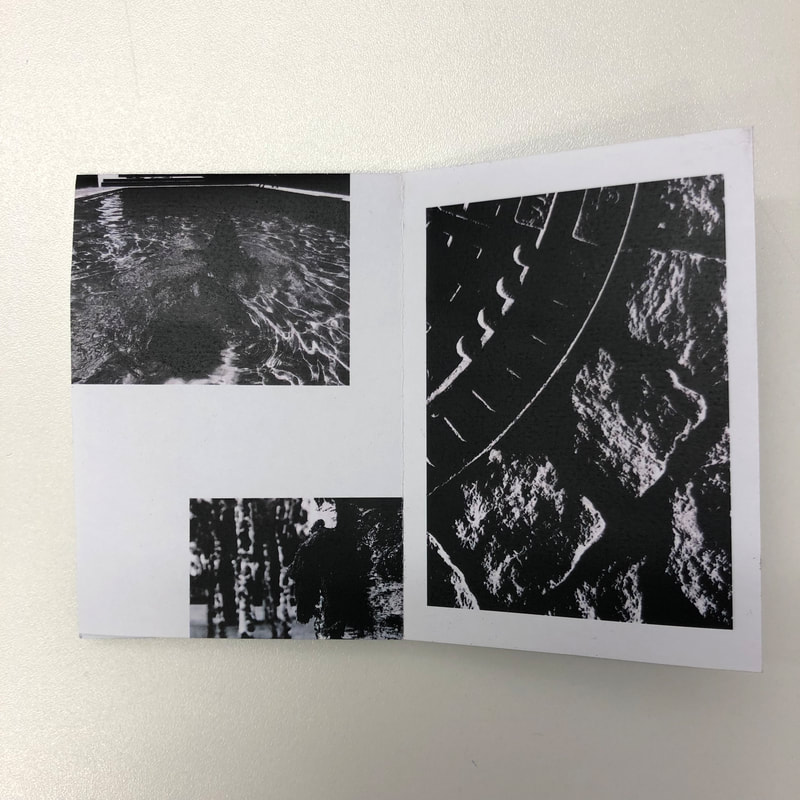
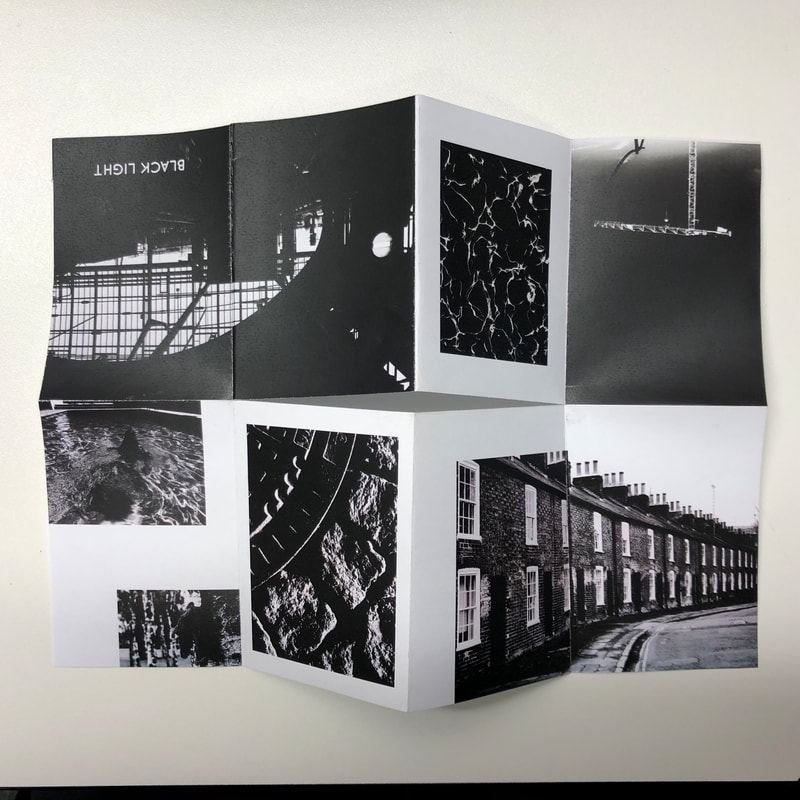
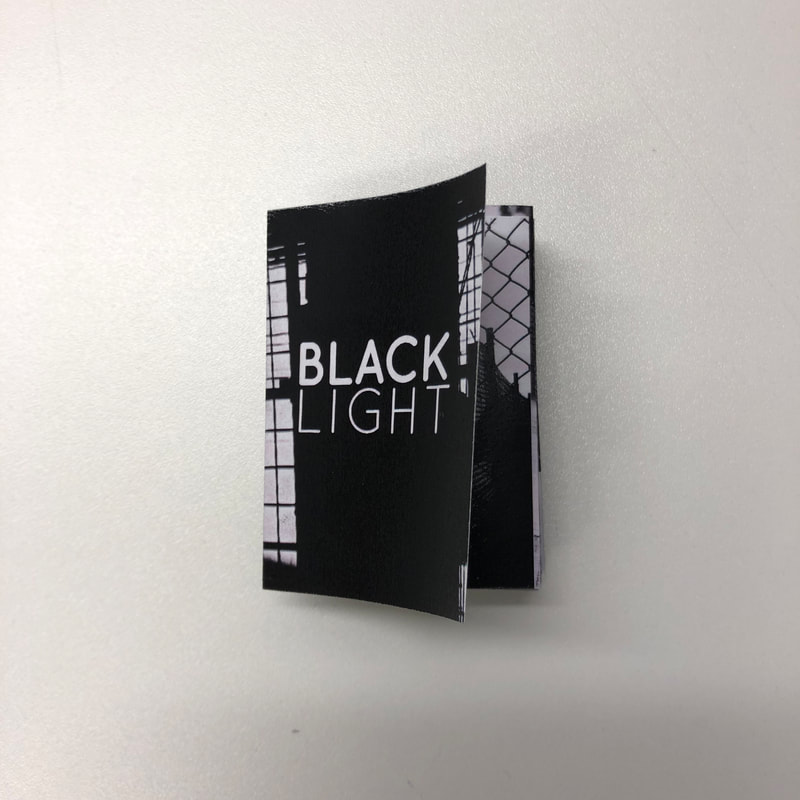
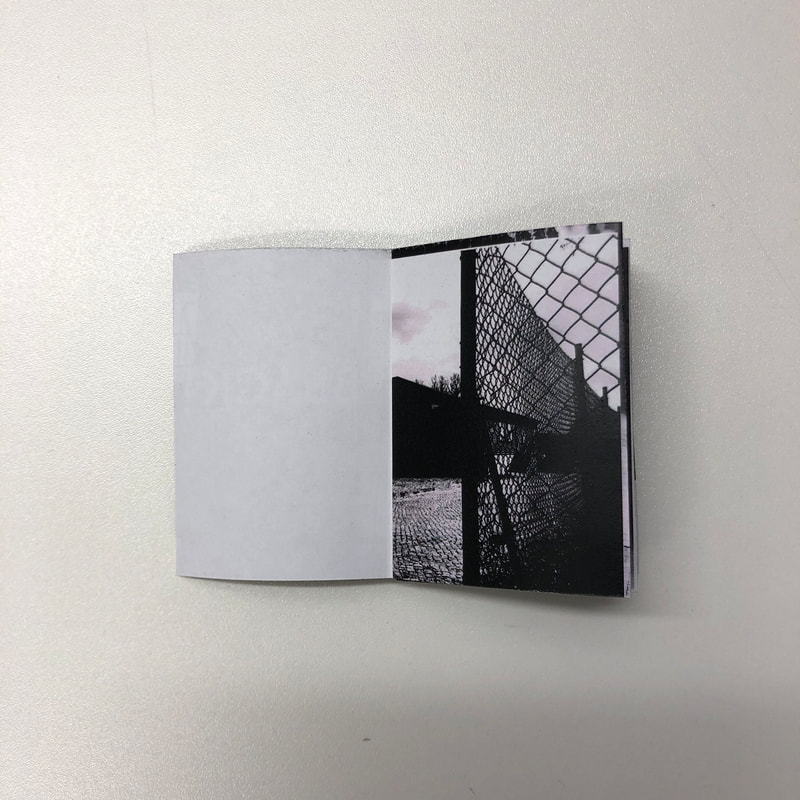
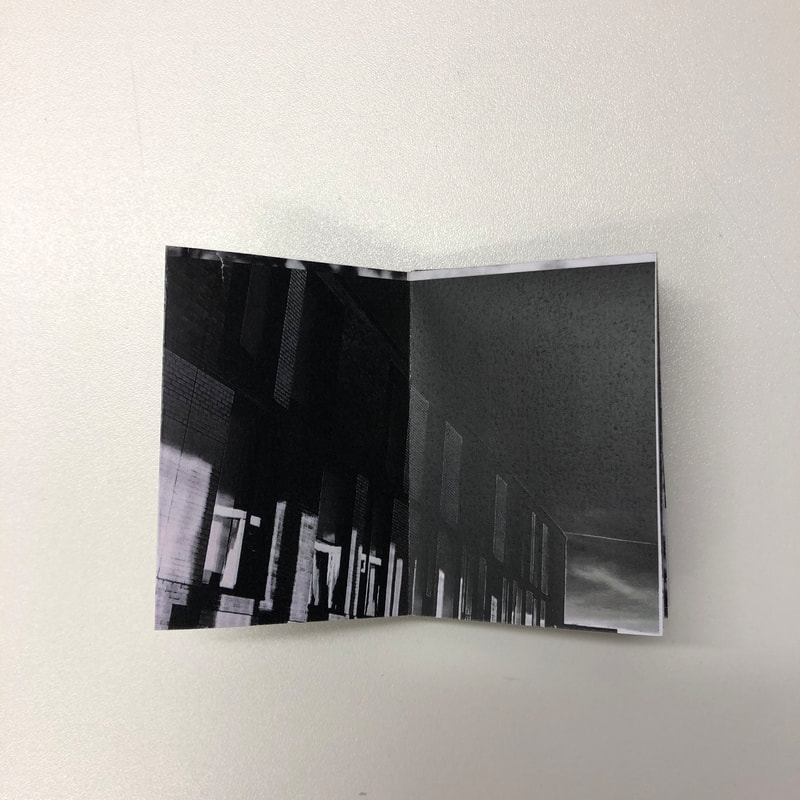
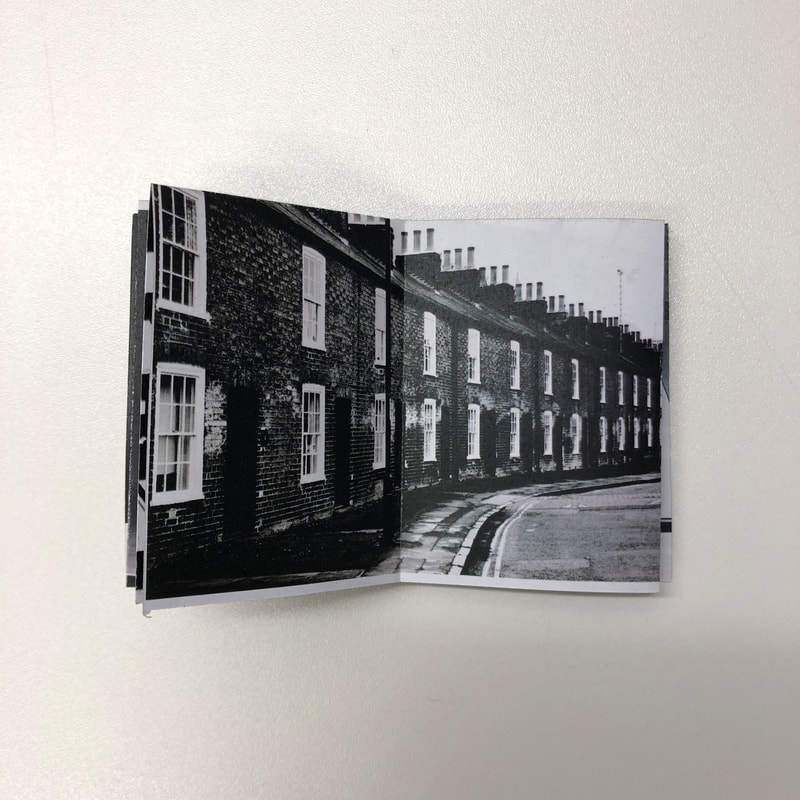
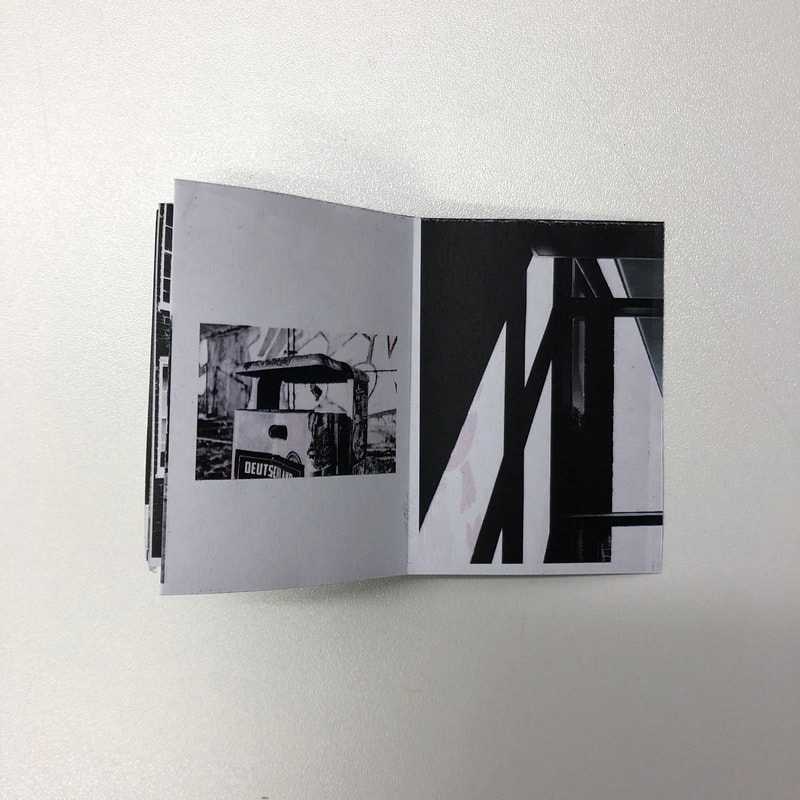
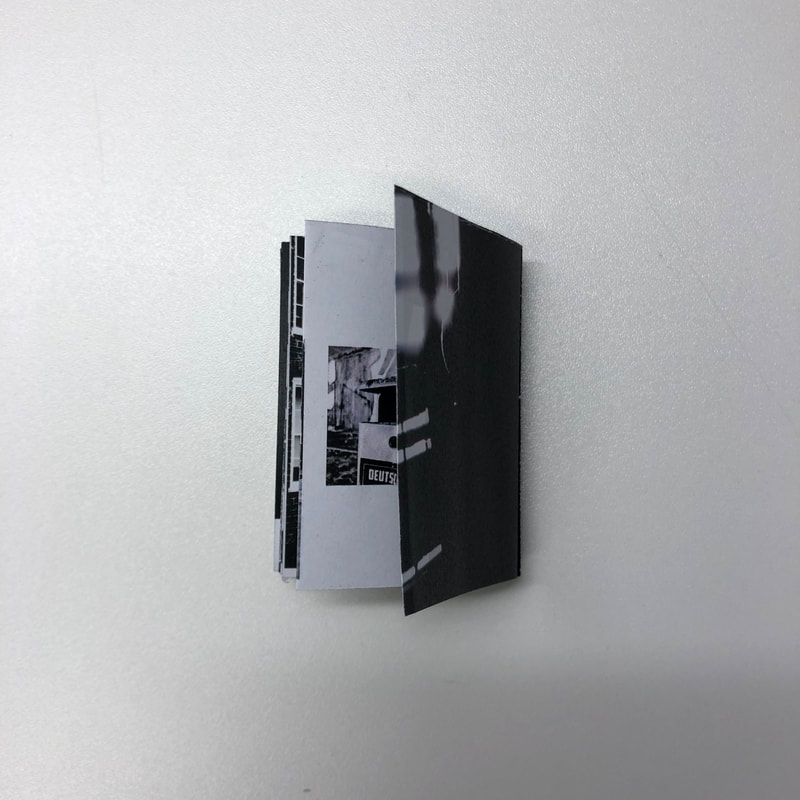
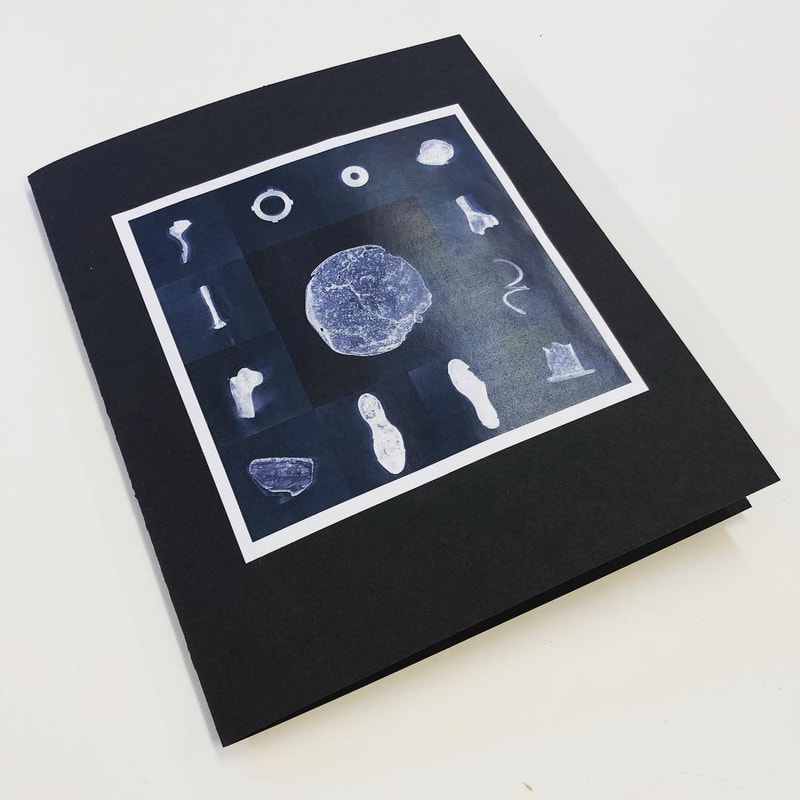
The Internet is stuffed with advice for making DIY zines. Here are a couple of simple techniques that might prove useful in the early stages of your experiments. These templates and examples refer directly to the Black Light project but you can obviously use them with any set of images. I have supplied a zip file of the Quicksand font which you will need to install to view the original template design as it was originally intended to be seen.
Example #1:
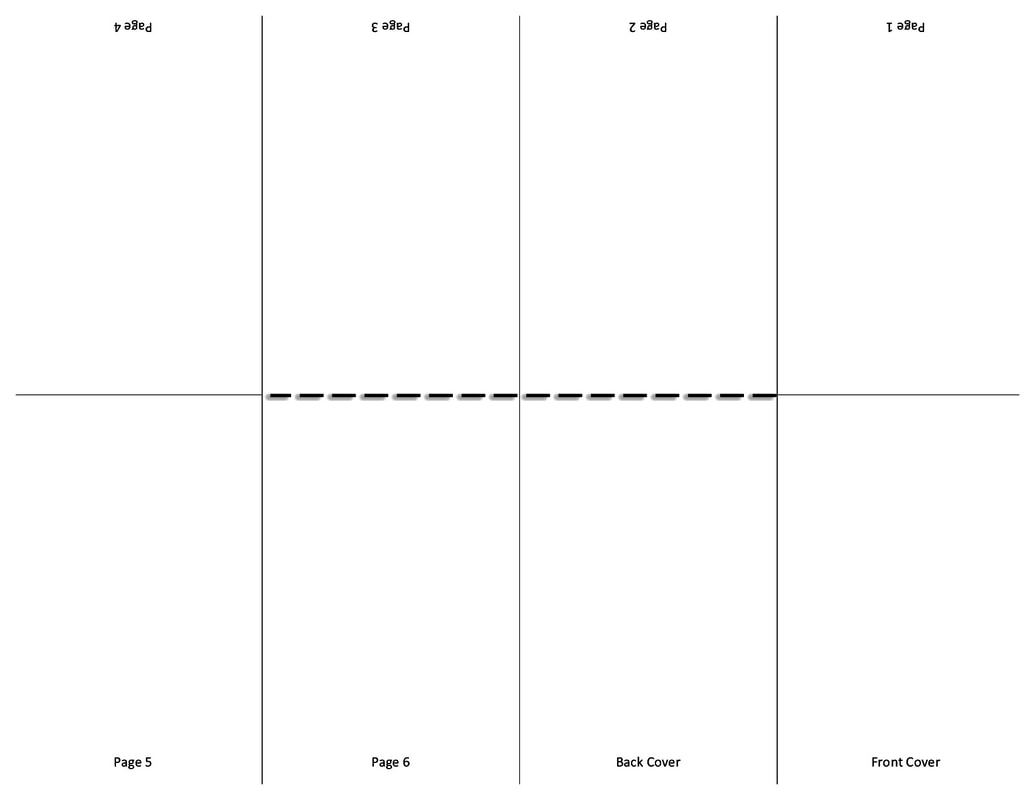
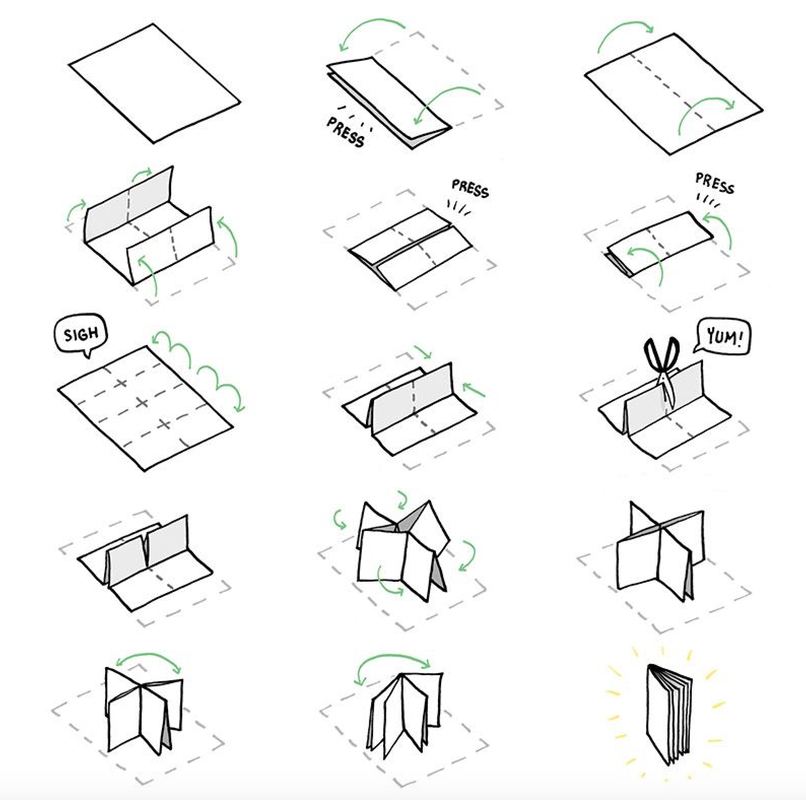
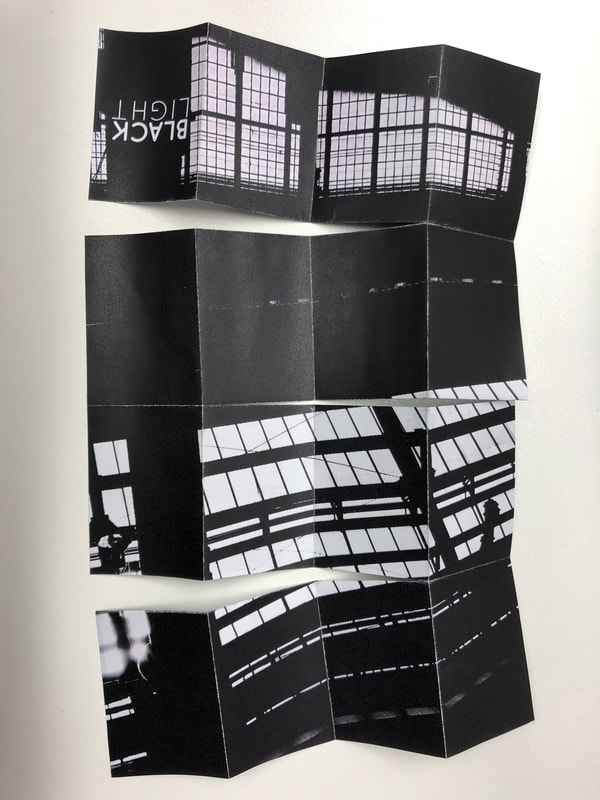
An eight page zine from a single sheet of paper.
You may wish to install the Quicksand font before you begin (provided below).
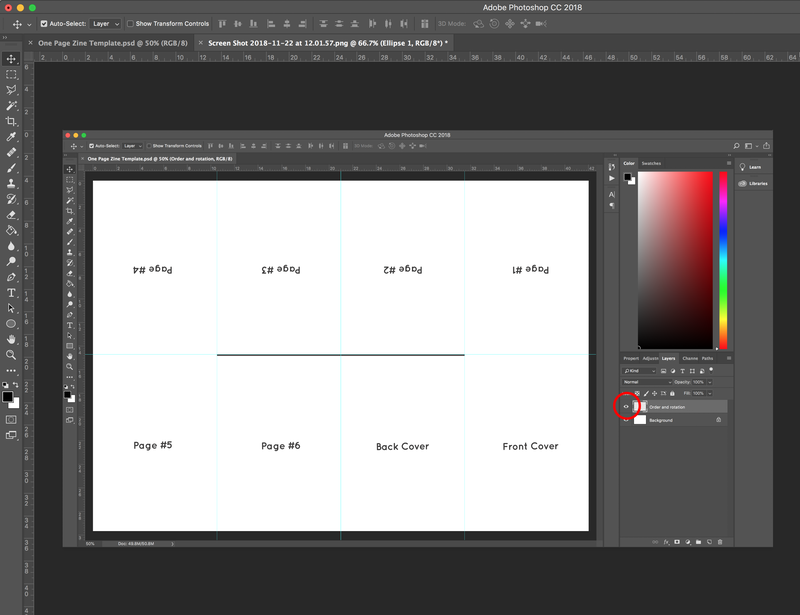
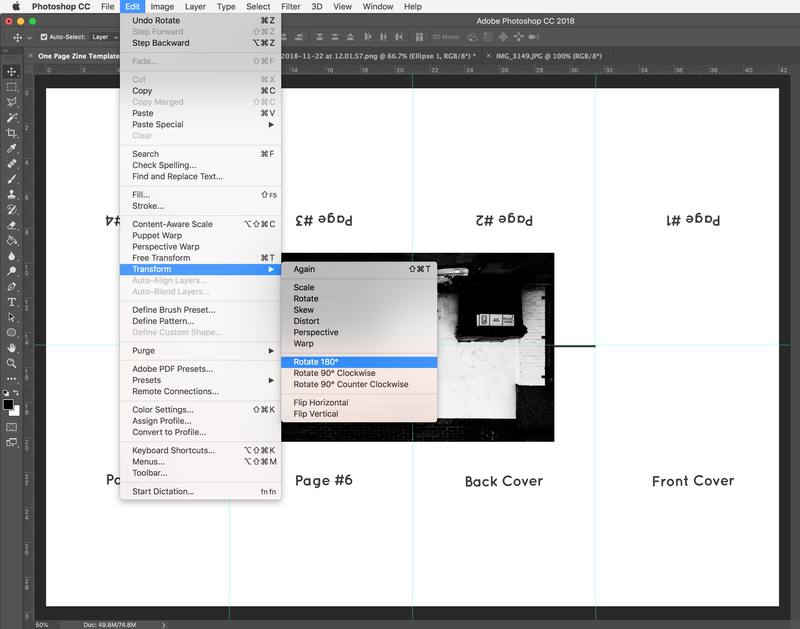
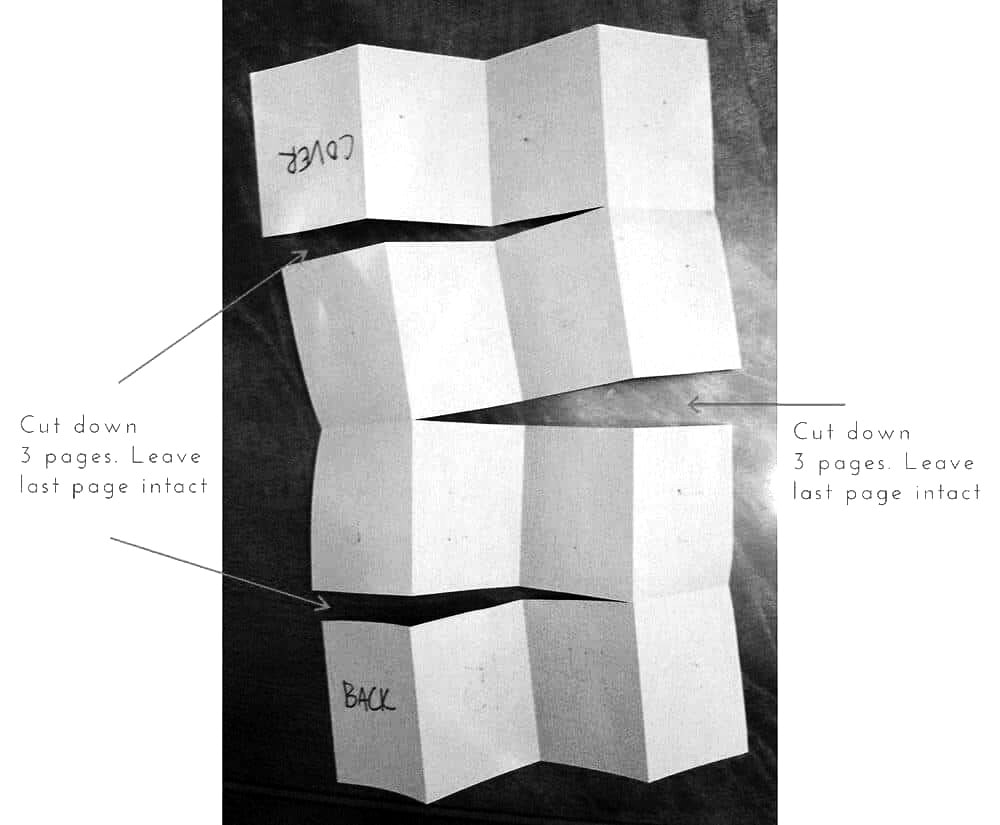
Download and open the zine template Photoshop file. Make sure you can see the Layers (use the Window menu to select if not visible). The guideline text is on a separate layer. You can turn this on and off by clicking the eye symbol. Now, open an image in Photoshop. Select all (Cmd + A), Copy (Cmd + C) and Paste (Cmd +V) it into your template document. Move it to the page where you want it to appear and resize (Cmd + T). Remember to hold down the Shift key when you drag the corner of the image to retain its original dimensions. The blue guidelines will help the image snap into place (along the eventual fold lines). To rotate your image (for the upside down pages), hover over the corner until you see the rotate symbol appear and drag or go to Edit >Transform > Rotate 180 degrees.
When you've finished laying out your zine and adding a title, hide the guideline text layer by clicking the eye symbol. Save As, rename and save the Photoshop file (this will keep the document layers). Then Save As a Jpeg. This will be easier to print. Print out your Jpeg document (using Preview) and scale to fit > fill entire paper. Trim off the white borders, cut and fold using the above instructions and hey presto! You should have an eight page zine.
|
|
| ||||||
NB. The template is set up for A3 but you could also print a smaller version on A4.
Example #2:
A sixteen page zine/poster from a single sheet of paper.
NB. You will need to print A3 double sided.
| |||||||||
This example produces a zine with twice the number of pages but in a different format. When folded, you have a sixteen page zine. When unfolded, you can create a single poster. The templates above are for both sides of the zine/poster. The instructions are similar to those used above for structuring the zine/poster in Photoshop. Once you have saved and exported your Jpeg documents, open the front and back in Preview and choose to print double sided. Alternatively, you could print the pages separately and photocopy them 1 to 2 sided. Trim off the white borders, cut and fold using the above instructions and you should have a sixteen page zine and one page poster.
Example #3: Turkish Map Fold
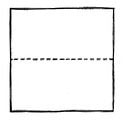
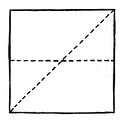
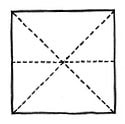
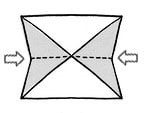
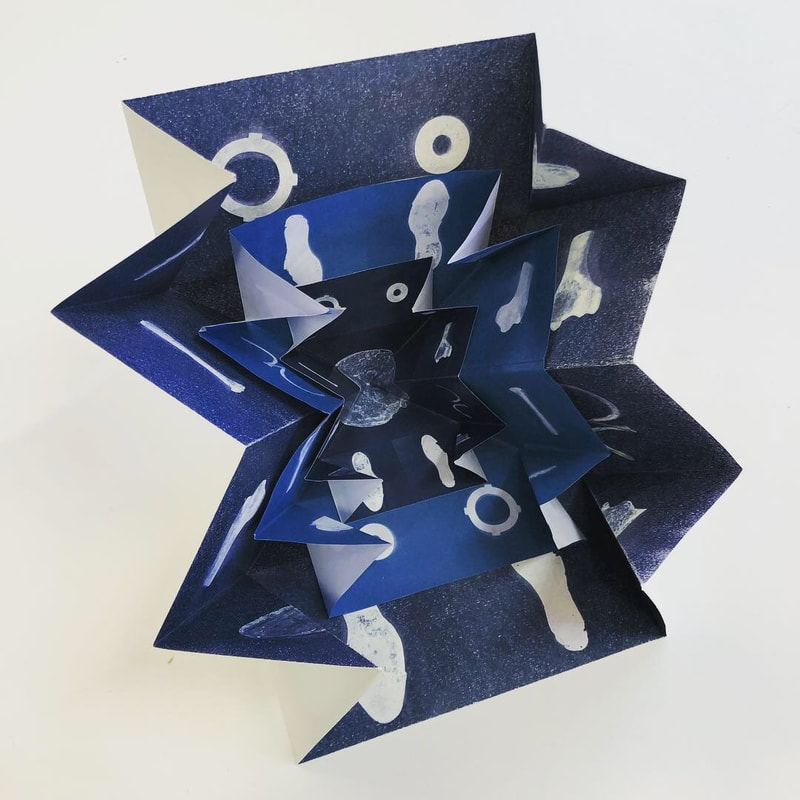
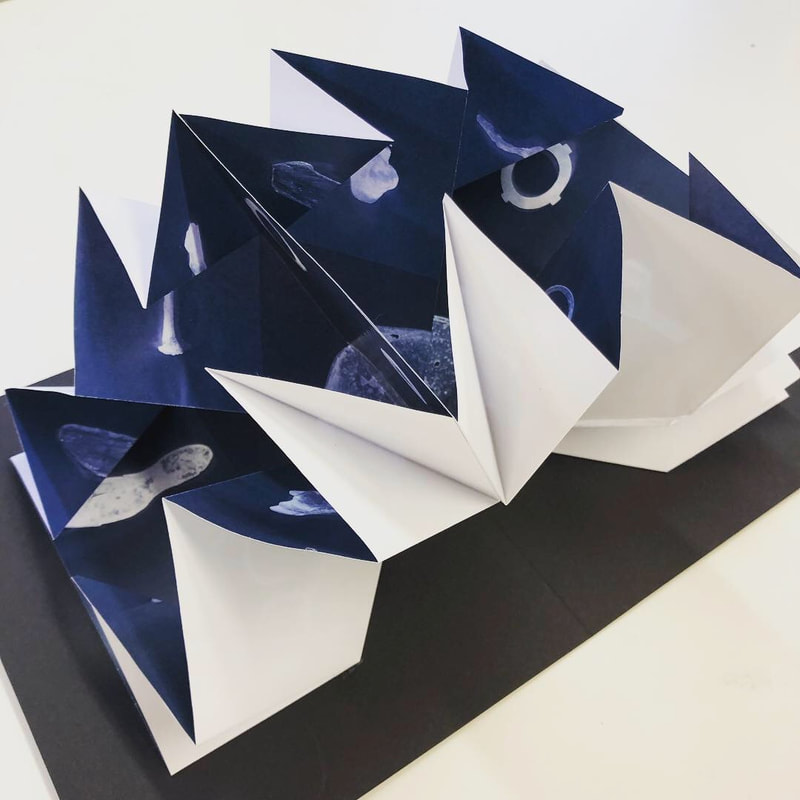
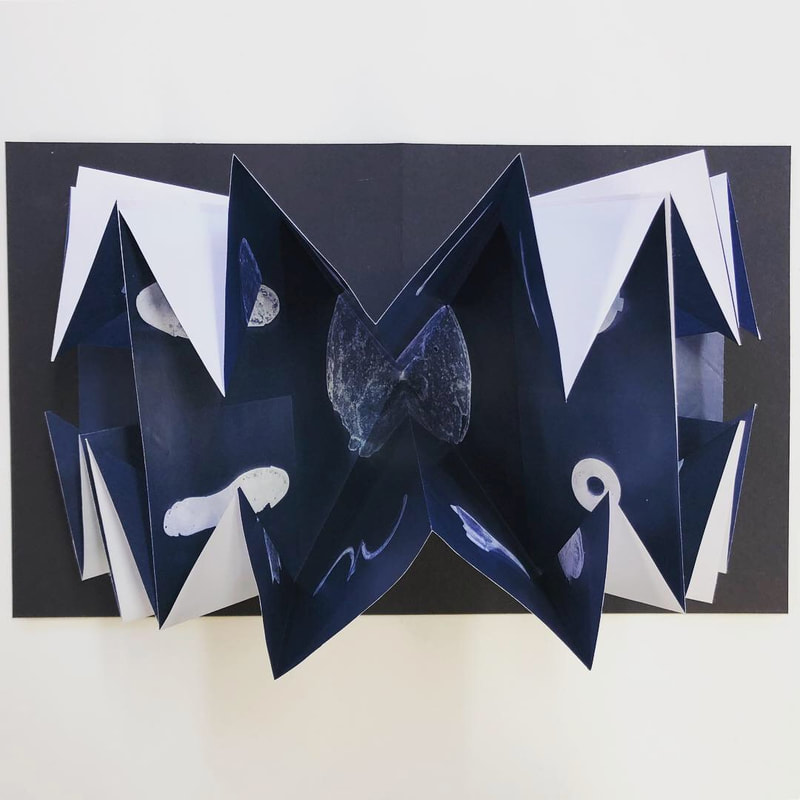
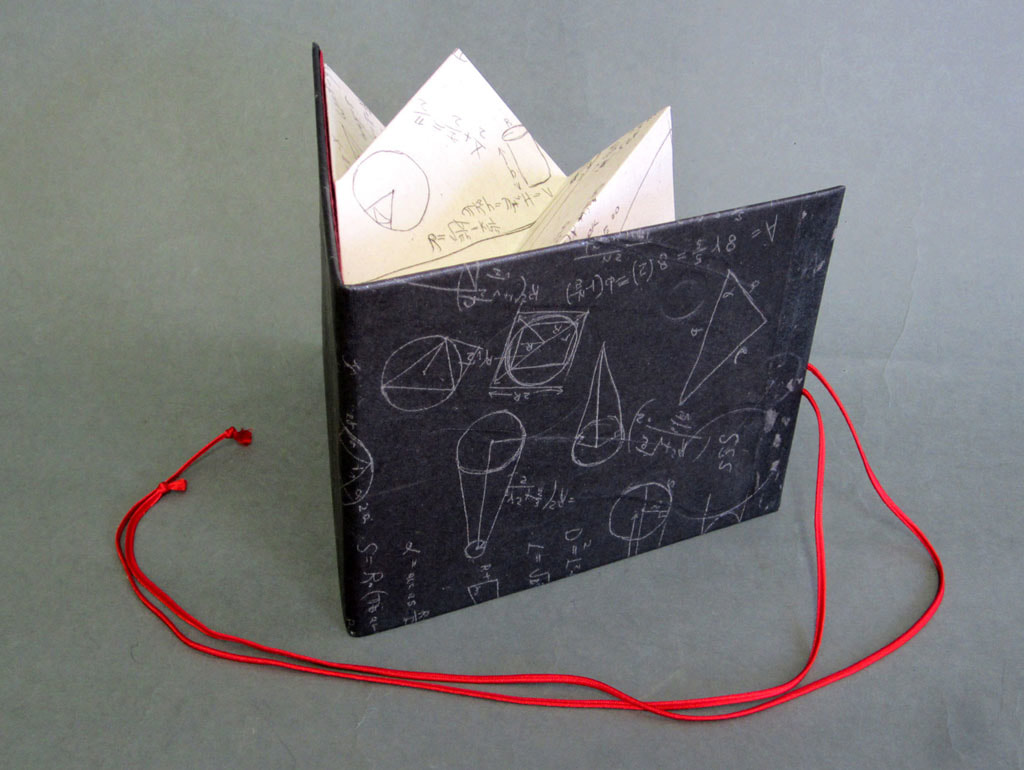
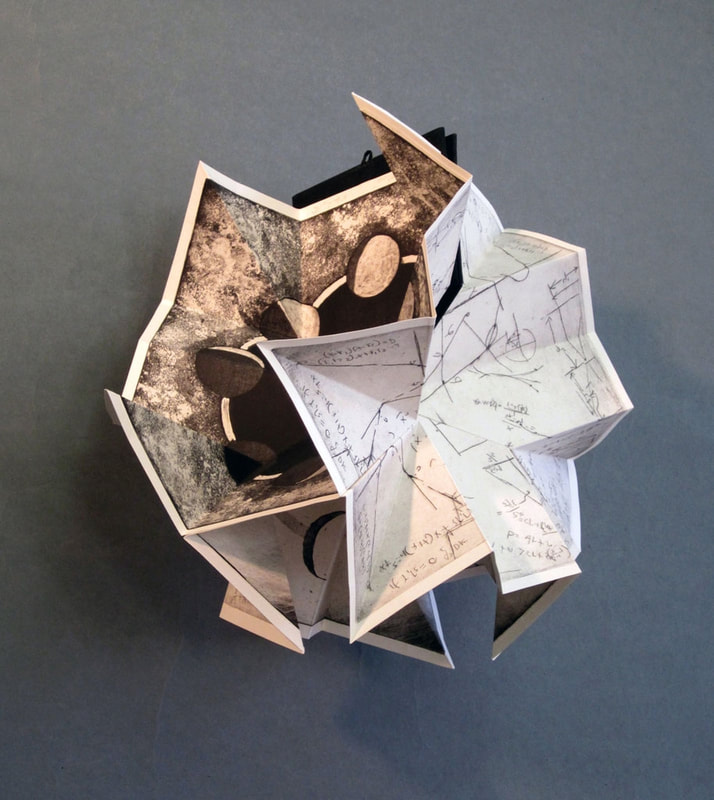
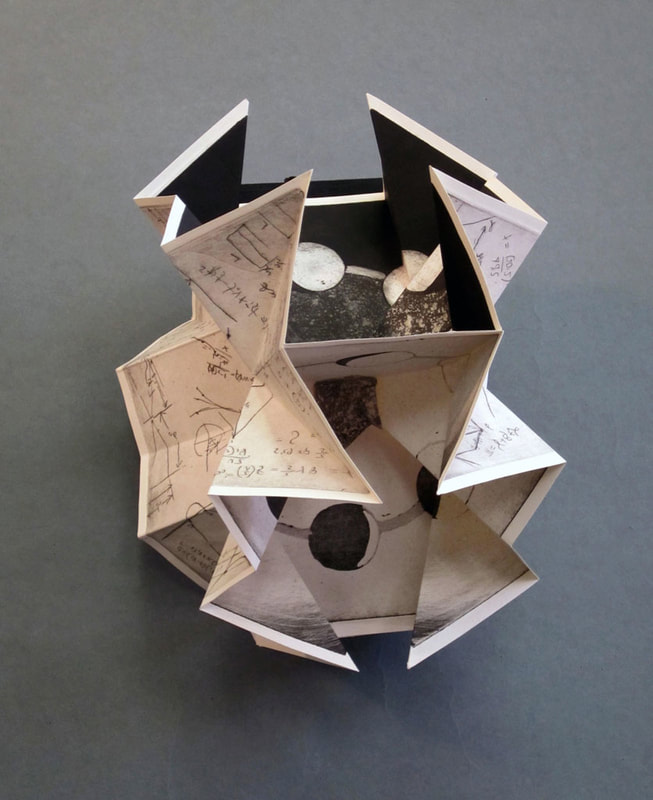
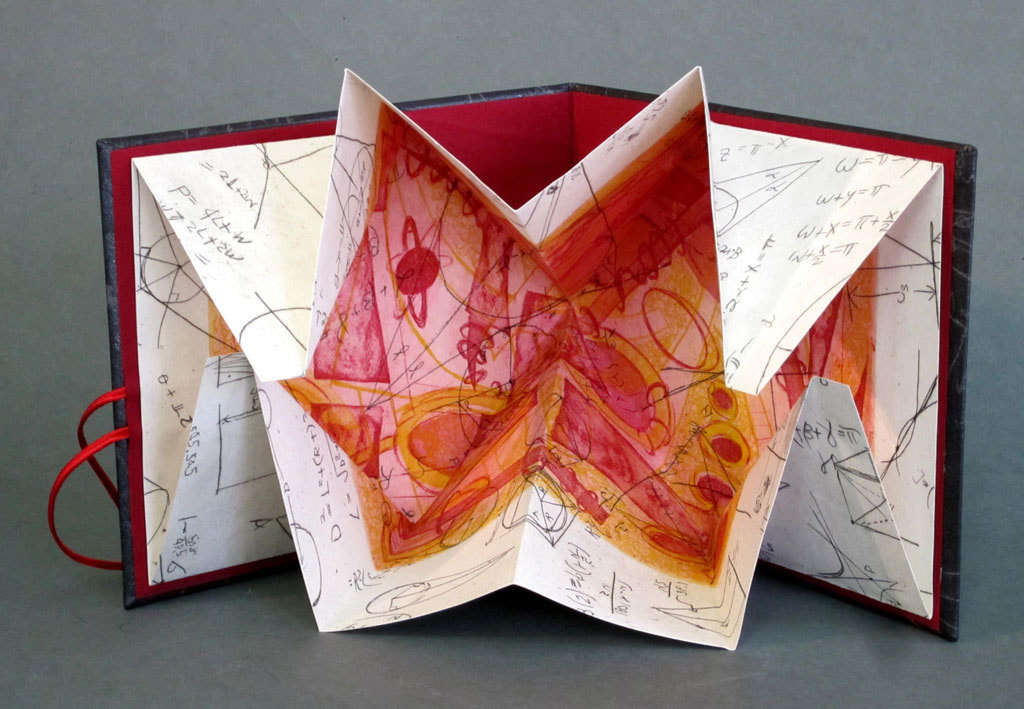
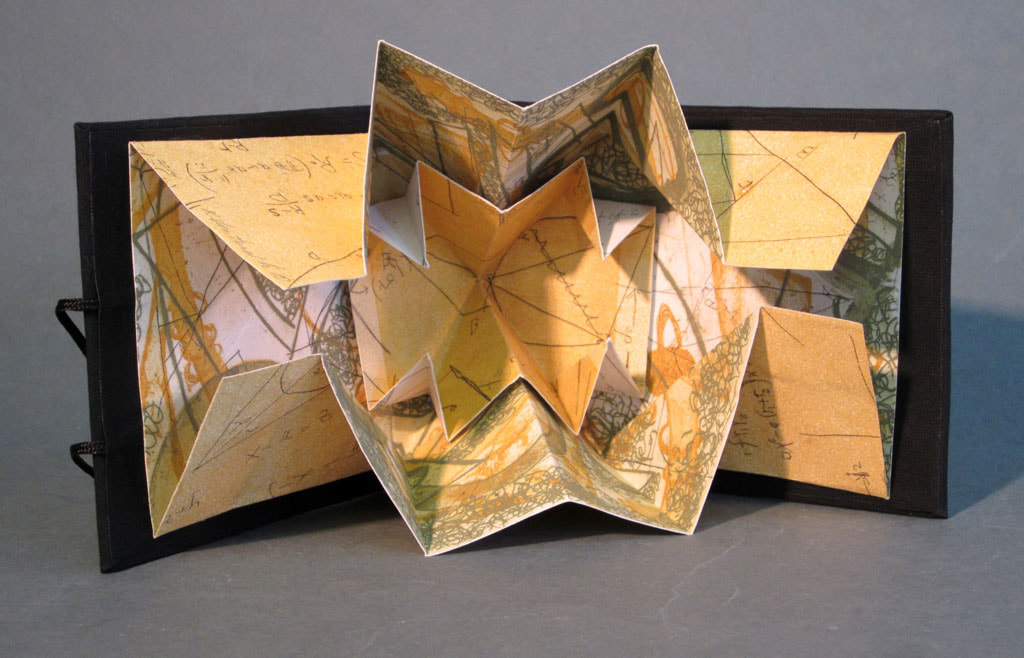
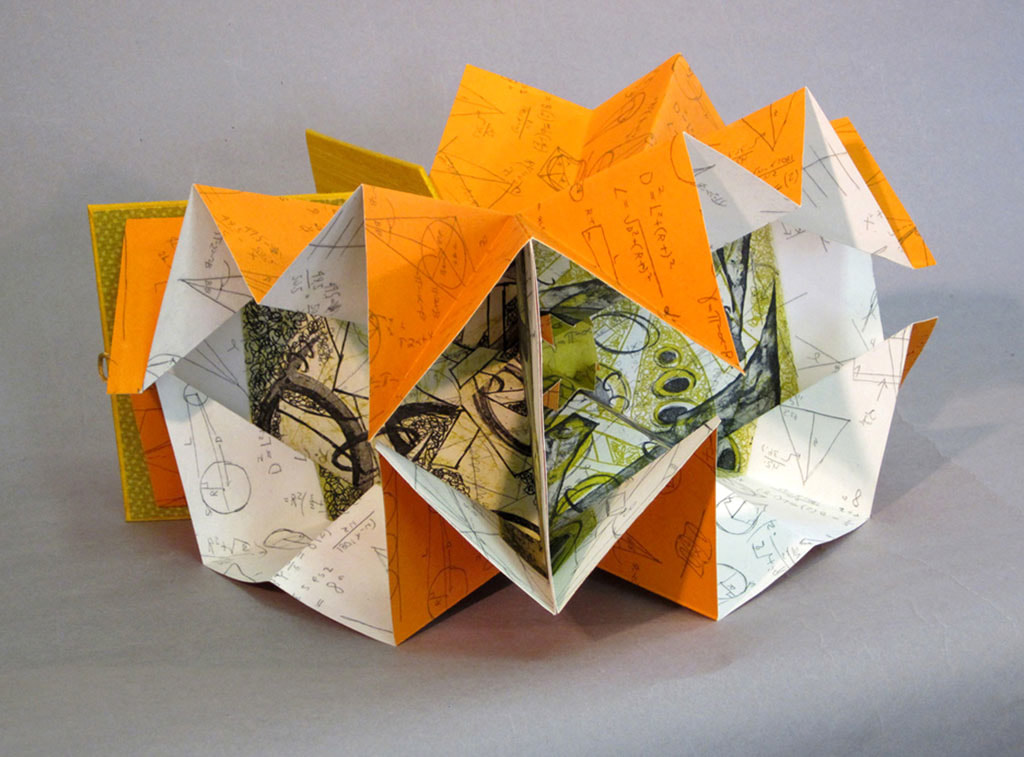
Traditionally used as a map folding technique, the Turkish Map Fold can also be used for zines. The example below is created with a square piece of paper. I've also included below a Photoshop template and some beautiful examples by artist Katherine Venturelli. You could experiment with adding hard covers, double sided printing and glueing together several map folds. The use of thicker paper will result in more sculptural forms.
|
| ||||

